Heater Box and Core.
Restoration of Heater Boxes
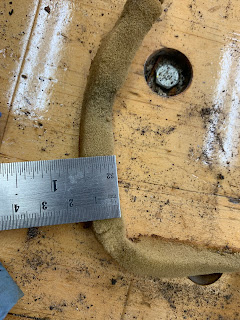
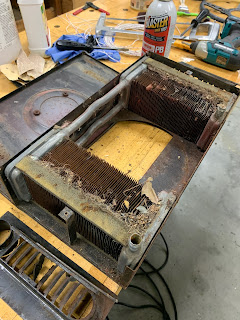
In addition to Emily Car's heater box, my parts collection included a second, also lightly rusted and very dirty. Neither appeared to be damaged, and neither showed signs of a leaking core. Emily Car's heater is easily identified by the red overspray, and I believe the other came from a Series 1 car but I can't be sure. They are identical except for how the factory applied the foam. (purists take note) You can see this and the dimensions of the foam below. This is very low density open celled foam.
Electrolysis for Rust and Paint Removal
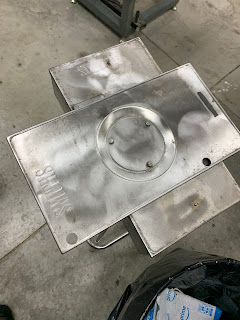
This awkward project gave me the excuse to set up a spooge tank*, something I've contemplated for quite some time. For clarity on the meaning of this phrase check here, but it refers to a process using electrolysis to remove rust and paint from steel. This is well documented by much smarter people elsewhere. Pics below show the process and progress. I am very pleased with the results.
Look closely at the pitting on this image to see how well the electrolysis process works.
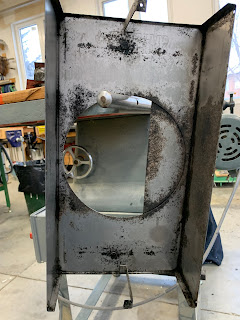
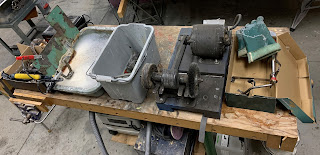
The parts were disassembled and the steel housing was tanked, washed, then cleaned up with one wire wheel on a bench arbour, another on a drill press, and third on a small hand drill for tight spots.
... and Paint







Comments
Post a Comment